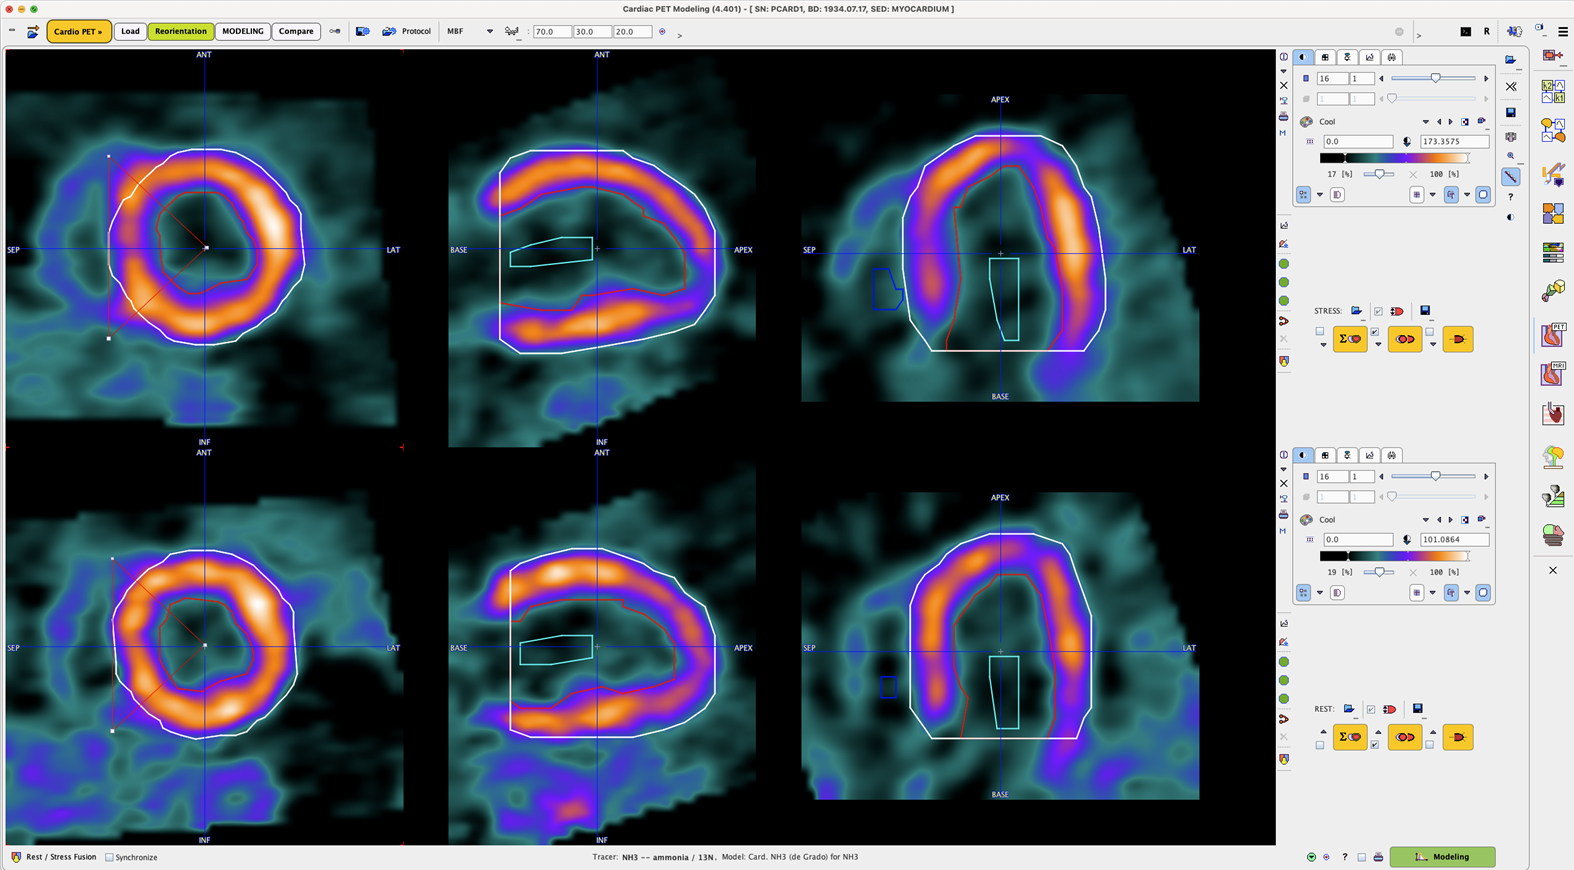
The layout of PCARDP is designed for processing the stress study in the upper half of the window, and the rest study in the lower half. Otherwise the results will be labeled incorrectly and the comparison will be wrong. If only one study is processed, it should be loaded into that part which is more appropriate for labeling. Note that if two studies are selected for loading on the database Load page, or on the DATABASE tab in the unified data loader, the first one will be considered as stress, and the second one as rest. When loading DICOM data, PCARDP will analyze the encoded information and show warnings if the model selection seems inappropriate or rest and stress series seem interchanged.
Loading from the Reorientation Page
On the Reorientation page data are loaded using the load buttons in the [STRESS] and [REST] area, respectively. Additionally, the page supports standard short axis orientation of the data and the definition of the myocardial segments.

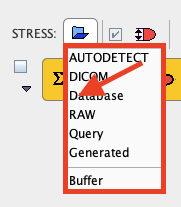
Note the triangle button to the right of the loading button. It allows selecting the data format of the studies, in the example above Database. Activating the button opens an image data selection window for selecting and loading the images.

Loading from the Database Load Page
If the database functionality is enabled, the user interface shows an additional tab DB Load. On this page, both the rest and the stress studies should be selected for loading, with the stress study on top as illustrated below.

Alternatively, images can be loaded via the lateral taskbar:
![]()
|
Load image. The format can be selected with the small down arrow below the button. |
|
Close all image series in the PCARDP tool, including any image results. |
|
Allows aggregating PCARDP results for statistical analysis |
|
Allows visualizing the saved results for comparison. |
|
Allows opening and sending the aggregation results to the R interface for further statistic analysis. |
|
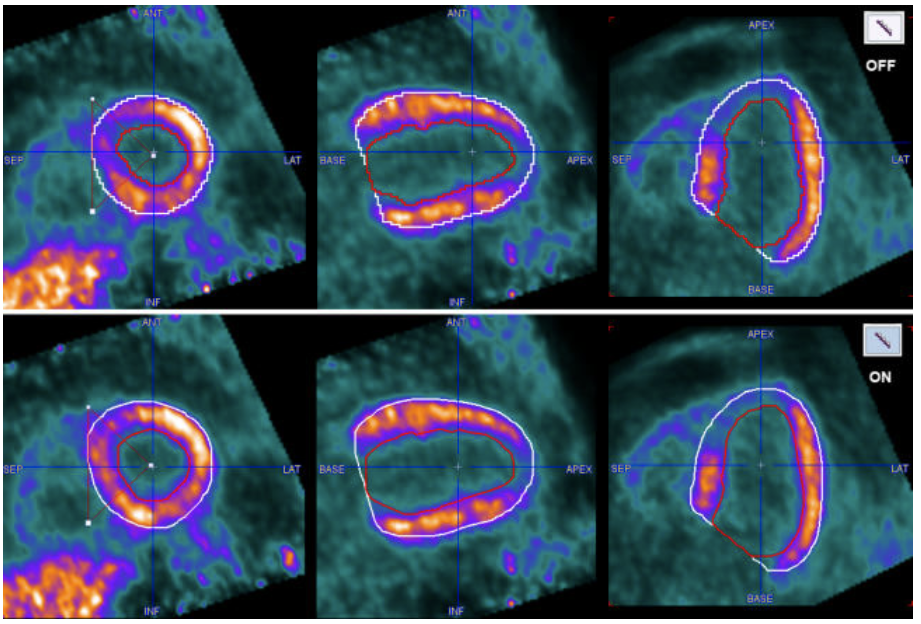
Allows eliminating the "staircase" effect from VOIs generated with the automatic procedure. In the capture below is illustrated the result of automatic VOI outlining when the icon is OFF (upper row) and ON (lower row)
Note: First switch ON/OFF the "staircase" icon then start the VOI automatic outlining procedure. |
Direct Loading
When selecting image series for loading, activate the Open button. In this case, the loading dialog window will not be shown and the images will be loaded with the corrections enabled in the configuration. If adjustments of the orientation or the timing are required, please use with Operations.
